


Views: 0 Author: Site Editor Publish Time: 2026-08-07 Origin: Site


An exhaust leak presents immediate operational, health, and safety concerns. From the risk of carbon monoxide exposure in the cabin to failed emissions testing and highly disruptive noise, addressing a compromised exhaust system is a mandatory maintenance priority. The core technical problem lies in accurately diagnosing the exact location, cause, and severity of the leak based solely on sound. Misinterpreting these acoustic signals frequently leads to incorrect diagnoses, wasted labor, and failed repair attempts.
Matching specific symptoms and physical damage to the correct repair methodology is essential for a lasting fix. You must evaluate the physical evidence to determine when a chemical or compound exhaust leak sealer is a viable, safe, and effective alternative to professional welding or structural component replacement. Recognizing the symptoms early and applying the correct diagnostic framework ensures you choose the right intervention before the damage spreads.
Symptom Mapping: Different exhaust sounds (rhythmic ticking, hissing, low rumbling) correlate directly to specific zones of the exhaust system, dictating the required repair approach.
Sealer Viability: A high-quality exhaust leak sealer is highly effective for pinholes, slip-joint sealing, and minor hairline cracks, but cannot restore structural integrity to severely rusted, broken, or load-bearing pipes.
Safety First: Exhaust leaks forward of the catalytic converter pose the highest risk for dangerous cabin fume intrusion and require immediate, high-temperature-rated professional interventions.
Preparation is Critical: The adhesion and long-term success rate of any exhaust leak sealer depends entirely on meticulous surface preparation, curing temperature, and material compatibility.
A rhythmic ticking or clicking sound that increases in frequency with engine RPM usually indicates a cracked exhaust manifold or a blown manifold gasket. This sound is most prominent during a cold start. As the engine block and exhaust components heat up, the metal expands, which can temporarily close the hairline crack or compress the failing gasket, causing the ticking to quiet down slightly. You might also experience tactile symptoms associated with manifold leaks, such as physical vibrations felt through the steering wheel, floorboards, or gas pedal during heavy acceleration.
These high-heat, high-pressure zones are notoriously difficult to repair without hardware replacement or specialized welding. The intense thermal cycling—where temperatures swing from ambient to over 1200°F in minutes—combined with extreme backpressure near the engine block means that temporary chemical fixes often fail quickly in this specific area. The expansion and contraction rates of cast iron manifolds differ from standard steel pipes, further complicating surface adhesion for any applied compound.
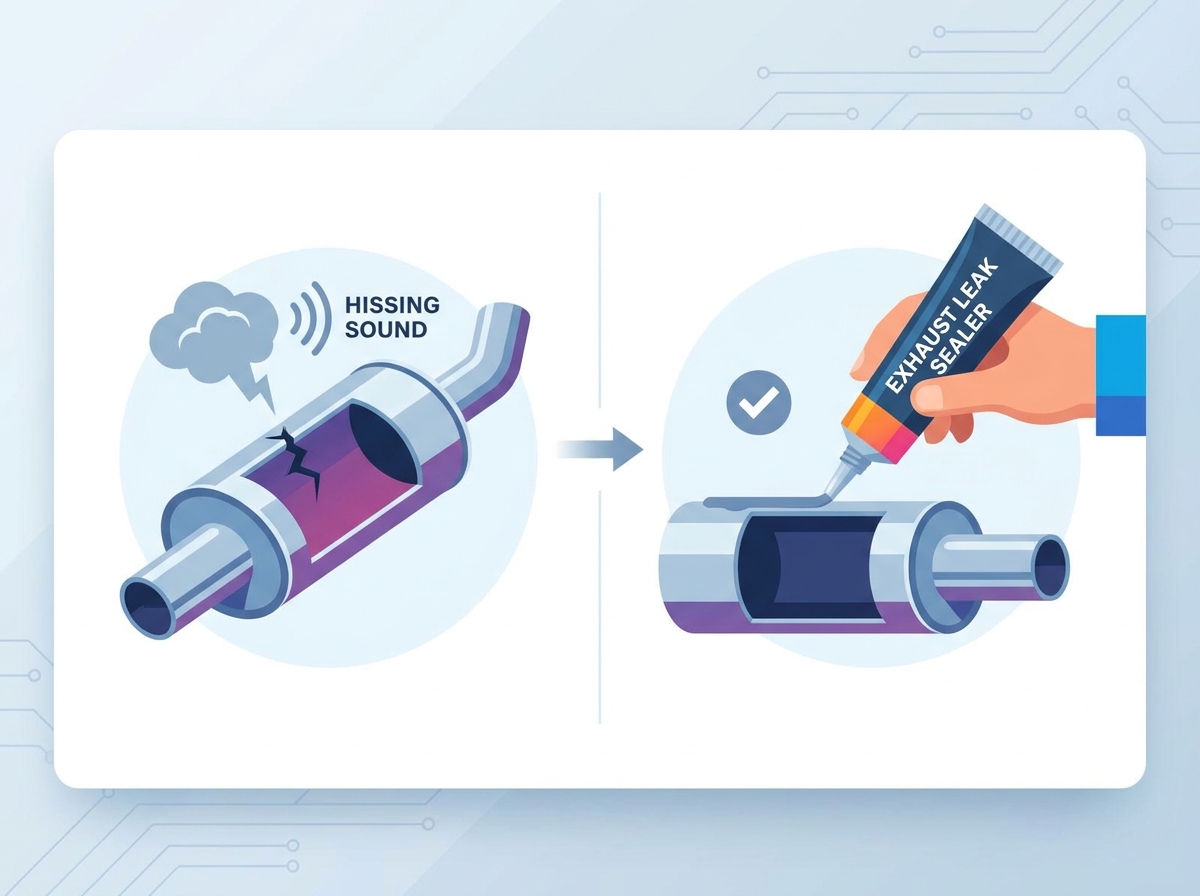
A soft hissing sound often points to hairline cracks, pinhole leaks, or failing weld seams in the mid-pipe section. This sound mimics compressed air escaping from a tight valve. You might also notice intermittent popping or backfiring during deceleration. This popping is frequently caused by unburnt fuel igniting in the exhaust tract. When a structural leak is present, outside oxygen is drawn into the hot exhaust stream via the Venturi effect, providing the necessary oxidizer to ignite the residual fuel.
Signs specific to the catalytic converter area include localized rattling, which suggests the internal ceramic honeycomb substrate has fractured or melted. When this rattling is combined with hissing or a distinct rotten egg and sulfur smell, the converter is compromised. Leaks in this zone require careful attention due to the extreme operating temperatures required for the catalytic chemical reaction to occur.
A deep, aggressive roar or low-frequency drone is indicative of a muffler blowout, heavily rusted tailpipe, or disconnected rear flange. These rear-end leaks significantly affect cabin comfort and acoustic profiles, making conversations difficult and driving fatiguing. The increased volume is usually the most obvious sign that the rear section of the exhaust system is compromised. Because the muffler is designed to cancel out specific sound frequencies using internal baffles and fiberglass packing, any breach in its outer shell completely negates its acoustic dampening properties.
Air entering a leak upstream of the upstream O2 sensor tricks the engine control unit (ECU) into reading a false lean condition. The ECU compensates by dumping excess fuel into the cylinders, causing sudden decreases in fuel efficiency and a rich running condition. You will likely see dashboard warnings, specifically Check Engine Lights (CEL) triggered by O2 sensors and fuel trim codes like P0171 (System Too Lean Bank 1) or P0174 (System Too Lean Bank 2).
For commercial and fleet operators, exhaust leaks lead to immediate DOT inspection failures and out-of-service violations. Maintaining a sealed exhaust system is mandatory for compliance, driver safety, and operational readiness. Even a minor leak can result in a grounded vehicle if detected during a roadside commercial vehicle inspection.
Symptom / Sound | Likely Location | Primary Cause | Severity Level |
|---|---|---|---|
Rhythmic Ticking (Cold Start) | Exhaust Manifold / Headers | Cracked cast iron, blown gasket, snapped stud | High (Fume risk in cabin) |
Hissing / Popping on Decel | Mid-Pipe / Catalytic Converter | Pinhole rust, failing weld, oxygen intrusion | Medium to High |
Low Drone / Aggressive Roar | Muffler / Tailpipe Assembly | Rusted out shell, broken flange, severed pipe | Low (Mostly acoustic) |
Rotten Egg Smell + Rattling | Catalytic Converter | Substrate meltdown, severe structural breach | High (Emissions failure) |
Reversing airflow into the tailpipe using a shop vacuum or leaf blower on a completely cold, non-running exhaust system is a highly effective diagnostic method. This allows you to visually pinpoint the exact location of escaping air without the risk of thermal burns or working around a running engine.
Ensure the vehicle has been sitting overnight and the entire exhaust system is cold to the touch.
Connect the hose of a shop vacuum to the exhaust port (blowing air out, not suctioning).
Insert the hose into the vehicle's tailpipe and seal the gap using duct tape or a heavy rag to force all air into the exhaust system.
Turn on the vacuum to pressurize the exhaust tract from the rear to the engine block.
Mix a solution of dish soap and water in a spray bottle.
Crawl under the vehicle and spray the soapy solution generously along all welds, slip joints, flanges, and suspected rust patches.
Watch for active bubbling. The exact leak source will reveal itself by forming soap bubbles as the pressurized air escapes through the compromised metal.
If you do not have access to a shop vacuum, visual inspections can provide strong clues. Identify black soot marks, carbon tracking, and localized rust degradation around flanges, slip joints, and exhaust hangers. Exhaust gases carry carbon particulate; when these gases escape through a crack, they leave a distinct black, powdery trail on the surrounding metal or undercarriage heat shields.
Never use your hands or fingers to feel for physical leaks on a warm or hot engine. The extreme temperatures of exhaust gases will cause severe thermal burns instantly. Always rely on visual markers or cold-engine pressure testing to locate the damage.
A successful fix requires a gas-tight seal, thermal expansion allowance, severe vibration resistance, and emissions compliance. The repair must withstand the harsh environment under the vehicle, including exposure to road salt, moisture, debris impacts, and constant physical movement from engine torque. Any repair method chosen must meet these baseline criteria to prevent the leak from reopening within a few drive cycles.
Chemical sealers are specialized compounds engineered to withstand extreme heat while maintaining a physical barrier against escaping gases. They generally fall into three categories: high-temperature epoxies, ceramic-based putties, and fiberglass exhaust bandages or wraps. These products rely on specific chemical curing processes. Some are air-cured formulas that harden over time at ambient temperatures, while others are heat-cured formulations that require the active heat of the running exhaust system to catalyze and set properly.
Sealer Type | Best Application | Curing Method | Flexibility After Cure |
|---|---|---|---|
Ceramic Putty / Paste | Slip joints, minor pinholes, flange mating | Heat-cured (Engine idle) | Rigid / Brittle |
Silicone-Based High-Temp | Gasket dressing, minor seam sealing | Air-cured (24 hours) | Highly Flexible |
Fiberglass Bandage / Wrap | Larger pipe cracks, clustered pinholes | Heat-cured (Engine idle) | Semi-Rigid |
An exhaust leak sealer excels at sealing slip joints during new component assembly, patching pinhole rust leaks in the mid-pipe, and sealing minor muffler seam splits. These lower-stress areas are ideal candidates for chemical compounds because they do not bear the structural weight of the exhaust system and operate at manageable temperature ranges. Using a sealer during the installation of clamped slip joints prevents micro-leaks from forming between the overlapping metal pipes.
Sealers are guaranteed to fail on completely severed or broken pipes, cracked cast-iron manifolds, and leaks directly on or near the catalytic converter where operating temperatures exceed 1200°F to 2000°F. Flexible, load-bearing flex pipes also cannot be repaired with rigid sealers due to the constant multidirectional movement they endure. Attempting to patch a flex pipe with putty will result in the compound shattering and falling out the moment the engine is put under load.
Match the sealer's maximum temperature rating to the specific exhaust zone. You need 2000°F+ ratings for headers and manifolds, 1000°F for mid-pipes, and 500°F for tailpipes and mufflers. Using a low-temperature sealer in a high-heat zone will result in the compound burning off, smoking heavily, and failing immediately. Always verify the peak temperature rating on the product packaging before application.
Evaluate how different compounds adhere to cast iron, aluminized steel, and stainless steel. Vibration resistance is critical for longevity. Rigid, brittle ceramic putties may crack under heavy vibration if applied to a long, unsupported span of pipe. In contrast, flexible, silicone-based high-temp sealants are designed to absorb movement, making them better suited for areas near exhaust hangers or rubber isolators.
Some products require immediate engine idle heat to cure, while others need a full 24-hour ambient air cure before vehicle operation. Applying a heat-cured putty and failing to run the engine will leave the compound soft and vulnerable to washing away. Conversely, starting the engine immediately after applying an air-cured silicone will blow the wet sealant out of the crack. Follow the manufacturer instructions precisely to ensure the compound reaches its maximum tensile strength.
Poor surface preparation causes 90% of sealer failures. Applying compound over loose rust, dirt, or grease guarantees the patch will blow out under pressure. You must establish a clean, rough surface for the chemical to grip.
Perform an aggressive wire brushing over the leak area to remove all loose rust, scale, and flaking metal down to bare steel.
Wipe the area down with a deep degreasing agent, such as an evaporative brake cleaner, to remove oil and road grime.
Rough the bare metal surface with coarse emery cloth or 80-grit sandpaper to establish mechanical adhesion scratches.
Wipe the area one final time with a clean, dry rag to remove any sanding dust.
When using a ceramic putty, force the material deep into the crack using a putty knife or gloved finger rather than just laying it on top. Pushing the material through the crack creates a mechanical key or lock on the inside of the pipe, preventing the exhaust pressure from simply blowing the patch off. When using an exhaust bandage or wrap over a larger pinhole cluster, properly overlap the material by at least 50% on each pass. Wet the bandage as instructed to activate the resin, and apply heavy tension while wrapping to ensure a tight, gas-impermeable seal.
Idle the vehicle to heat-cure the sealer if required by the product instructions. Monitor the repair area closely. It is normal to see acceptable light smoke during the initial baking phase as the binders in the compound burn off and the material hardens. Once the curing cycle is complete and the exhaust has cooled down again, perform a secondary soapy water bubble test using the shop vac method to verify a complete, airtight seal.
Perform the cold-engine soapy water test using a shop vacuum to accurately locate the exact source of the escaping air without risking thermal burns.
Assess the size and location of the damage carefully, noting whether the leak is on a load-bearing joint, a high-heat manifold, or a low-stress mid-pipe.
Select a high-temperature exhaust leak sealer rated for the specific heat zone if the damage consists of minor pinholes, hairline cracks, or slip-joint gaps.
Schedule a professional mechanical diagnostic for severe damage, completely severed pipes, or leaks located directly on the catalytic converter assembly.
A: A properly applied exhaust leak sealer on a minor pinhole or slip joint can last several months to a year, depending on vibration and temperature exposure. It is generally considered a temporary fix rather than a permanent structural repair.
A: Yes, leaks upstream of the oxygen sensors introduce excess air, triggering a check engine light for lean running conditions. Sealing the leak correctly will resolve the issue, and the light should turn off after a few drive cycles.
A: Driving with an active exhaust leak is unsafe. Leaks forward of the catalytic converter or near the cabin can allow deadly carbon monoxide fumes to enter the passenger area, posing severe health risks.
A: Exhaust putty repairs often fail strict state safety and emissions inspections. Inspectors usually require permanent mechanical repairs, such as welding or component replacement, to ensure long-term structural integrity and emissions compliance.
A: Standard epoxy cannot withstand the extreme temperatures of an exhaust system and will burn off quickly. You must use a specialized high-temperature exhaust leak sealer rated for the specific heat zone of the repair.


