


Views: 0 Author: Site Editor Publish Time: 2026-07-31 Origin: Site


Dealing with an exhaust leak is an immediate frustration. Excessive noise, a sudden loss of backpressure, failed emissions inspections, and the severe risk of toxic exhaust fumes entering the cabin demand quick attention. Professional exhaust welding or full component replacement is highly effective but comes with significant costs and downtime. Vehicle owners need a reliable, high-temperature, non-welded solution to seal leaks temporarily or semi-permanently.
Walk into any auto parts store, and you will find two primary chemical and material solutions: exhaust putty and fiberglass bandages. Choosing the right product requires a technical evaluation of the leak size, its location on the system, and the thermal dynamics of the affected pipe. This guide evaluates which product to use based on these specific mechanical factors to ensure a safe, gas-tight seal.
Application Dictates the Product: Exhaust repair paste excels at sealing slip joints, pinholes, and hairline cracks, while exhaust tape is engineered for bridging larger holes on straight pipe sections.
Thermal Curing is Mandatory: Both solutions rely on the heat of the exhaust system to cure and harden; improper thermal cycling leads to premature failure and blowouts.
Surface Preparation is the Deciding Factor: Neither paste nor tape will adhere to loose rust or carbon deposits. Aggressive wire-brushing and degreasing are non-negotiable for a successful seal.
The Hybrid Approach Yields Maximum Durability: Combining paste to fill the void, tape to provide structural wrapping, and mechanical clamps to secure the edges offers the highest success rate for DIY repairs.
The exhaust system operates in an extreme temperature environment. Near the catalytic converter and the exhaust manifold, temperatures frequently exceed 1,000°F (538°C). As the metal pipes heat up during a drive and cool down when parked, they constantly expand and contract. Any repair material applied to these pipes must handle this severe thermal cycling. If a sealant cures too rigidly without the ability to withstand thermal shock, it will simply crack and fall off after a few days of driving. You need materials specifically formulated with ceramics or high-temp resins that flex slightly at a microscopic level while maintaining their grip on the steel.
Thermal cycling also dictates how you apply the product. Applying a cold patch to a cold pipe and immediately hitting the highway is a guaranteed failure. The rapid expansion of the metal will shear the bond before the chemical cure even finishes. Mechanics know that managing the heat cycle during the first hour of application is what separates a patch that lasts a week from one that lasts a year.
Exhaust systems are not static. They endure constant mechanical stress from engine vibration, road impacts, and the internal pressure of exhaust gases being forced out of the engine cylinders. A successful repair must possess enough structural integrity to resist blowing out under heavy acceleration. When you step on the gas pedal, the internal pressure spikes. Weak patches will rupture instantly under this load, making vibration tolerance just as critical as heat resistance.
Consider the physical movement of the exhaust system. It hangs on rubber isolators, allowing it to swing and vibrate independently of the chassis. Every time you hit a pothole or shift gears, the entire pipe assembly flexes. A brittle patch applied over a flex pipe or a highly stressed hanger bracket will shatter. You have to evaluate the mechanical load on the specific section of pipe you are repairing.
Traditional mechanical U-bolt clamps or band clamps alone often fail to completely seal telescoping slip joints. This is the area where one pipe slides inside another. Even when clamped down tightly, the metal-on-metal connection leaves microscopic gaps. Exhaust gases weep through these tiny spaces, creating a ticking noise and failing emissions tests. Chemical sealants are required to fill these microscopic voids where mechanical pressure falls short.
When assembling a new exhaust system, many technicians use a thin layer of sealant inside the slip joint before sliding the pipes together. This acts as a permanent gasket. If you are trying to fix an existing, leaking slip joint without taking it apart, you face a harder battle. You have to force the sealant into the tiny gap against the outward pressure of the exhaust gas. This is where material viscosity matters immensely.
Adhesives and putties have strict chemical limitations when applied to oxidized steel. Exhaust pipes live under the car, exposed to water, road salt, and constant heat, resulting in heavy rust and carbon buildup. The success of any exhaust repair is heavily dependent on exposing bare metal prior to application. If you apply a sealant over a layer of rust, the sealant will adhere to the rust, not the pipe. When the rust flakes off, the repair goes with it.
You cannot skip the prep work. Grabbing a piece of sandpaper and giving it a quick rub is insufficient. You need an aggressive wire wheel on a drill or a heavy-duty hand brush to scour the surface until you see shiny steel. After brushing, the surface must be degreased. Any residual oil, penetrating fluid, or exhaust soot will act as a barrier, preventing the chemical binders in the patch from locking onto the metal pores.
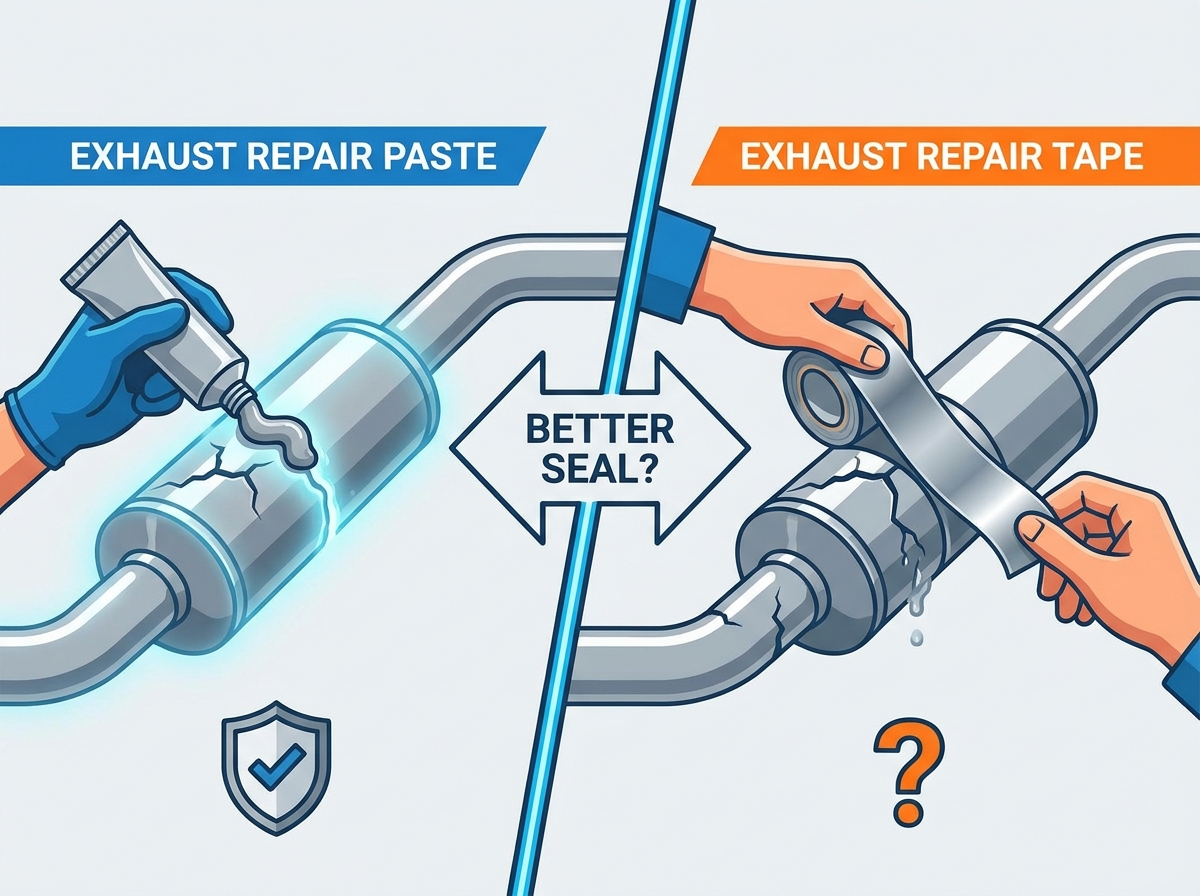
An exhaust repair paste is typically a ceramic or sodium silicate-based putty. It applies as a thick, moldable paste directly from a tube or tub. When exposed to the high temperatures of the exhaust system, the chemical composition undergoes a thermal cure. The moisture bakes out, and the silicates cross-link to form a rock-hard, heat-resistant seal that bonds directly to the porous surface of the bare metal.
This chemical reaction is irreversible once complete. The sodium silicate transforms into a glass-like structure that can withstand direct flame and extreme heat. However, this transformation requires the slow evaporation of the carrier solvents. If heated too quickly, the solvents boil, creating steam pockets inside the putty that weaken the final structure and cause it to crumble.
Applying this putty requires a specific physical technique. You cannot simply smear it over the surface like frosting on a cake. The critical method is the "press-and-plug" technique. You must press the paste directly into the crack or hole first. This forces the material through the gap, creating an internal mechanical anchor on the inside of the pipe. Once the hole is plugged, you smooth a secondary layer over the exterior to reinforce the patch.
Using a gloved finger is often the best tool for this job. It allows you to feel the edges of the hole and ensure the putty is packed tightly into the void. You want a slight mushrooming effect on the inside of the pipe. When the exhaust pressure pushes against the patch from the inside, it will push the mushroomed putty tighter against the edges of the hole, rather than blowing it out.
Paste is highly specialized for specific types of leaks where structural wrapping is impossible or unnecessary. It is the superior choice for tight spaces and intricate connections.
Sealing slip joints where two pipes slide together, acting as an airtight joint sealer during initial assembly.
Filling minor pinholes caused by localized corrosion or small rock strikes.
Acting as a gasket dressing or a direct substitute for degraded exhaust flanges and clamps.
Patching hairline cracks along welded seams where a muffler meets the inlet pipe.
Despite its high heat tolerance, paste has distinct physical limitations. If applied too thickly, it becomes vulnerable to cracking under heavy engine vibration. It also lacks tensile strength, meaning it cannot bridge structural gaps larger than a few millimeters without the support of a metal mesh. Furthermore, if the vehicle is revved before the thermal cure is complete, the internal exhaust pressure will blow the wet paste right out of the hole.
Another limitation is its brittleness. While it handles heat exceptionally well, it does not handle bending or twisting. If you apply paste to a section of pipe that flexes heavily during acceleration, the rigid patch will eventually fracture. It is best used on rigid, well-supported sections of the exhaust system.
Exhaust tape is generally a fiberglass or basalt wrap impregnated with heat-activated polyurethane or epoxy resins. It comes in a roll and is often activated by water before application. As you wrap it tightly around the damaged pipe, the heat from the running engine activates the resin. The resin cross-links and hardens, turning the flexible bandage into a rigid, structural cast that permanently grips the circumference of the pipe.
The fiberglass provides the tensile strength, while the resin provides the gas-tight seal. This composite structure is incredibly strong once cured. It acts like a splint for a broken bone, holding the weakened metal together and preventing the hole from expanding further due to vibration or rust.
Tape is designed for structural reinforcement and covering larger surface areas where putty would simply fall through the void.
Repairing larger rusted-through holes or complete breakages on straight, cylindrical sections of pipe.
Providing structural reinforcement to weakened, thinning metal sections that are prone to snapping over bumps.
Wrapping cylindrical components where tight, overlapping tension can be achieved to compress the leak effectively.
Securing loose heat shields that have rusted away from their mounting points.
Tape requires specific geometry to work correctly. It is incredibly difficult to achieve a gas-tight seal on complex curves, sharp elbows, welded hangers, or irregular muffler seams. The tape relies on overlapping tension; if it cannot be wrapped 360 degrees around the entire circumference of the pipe, it will fail to adhere properly. Additionally, if the wrap is exposed to excessive road moisture or deep puddles before fully curing, the resin can delaminate and soften.
Clearance is another major issue. You need enough room to pass the roll of tape completely around the pipe multiple times. If the exhaust pipe is tucked tightly against the floorpan or runs close to the driveshaft, you may not have the physical space to apply the wrap correctly. In these tight quarters, you are often forced to drop the exhaust system off its hangers to gain access, which defeats the purpose of a quick DIY fix.
Applying putty is a straightforward but messy process. It requires a putty knife or gloved fingers to force the material into small gaps. It is easy to apply in tight quarters under the vehicle. Tape, however, requires high-tension, wet-wrapping. You need enough clearance around the entire pipe to pass the roll of fiberglass through repeatedly. If the pipe is tucked tightly against the floorboard or a heat shield, wrapping tape becomes highly restrictive.
Putty is forgiving. If you mess up the application, you can wipe it off and start over before it cures. Tape is a one-shot deal. Once you activate the resin and start wrapping, you have a limited working time before it begins to set. If you fail to get the tension right on the first pass, the entire roll is wasted.
The thermal curing requirements differ significantly. Paste often requires a slow, step-up idle sequence. You must let the engine idle gently to prevent the internal moisture in the putty from boiling rapidly, which causes steam pockets and blowouts. Tape requires immediate, sustained heat to activate and cross-link the resin. Once wrapped, the engine usually needs to run continuously to bake the fiberglass cast into its final rigid state.
For paste, a common curing sequence involves letting the engine idle for 10 minutes, turning it off for 10 minutes, and then idling again for 15 minutes. This slow bake drives out the moisture safely. For tape, you generally wrap it, start the car, and let it run for 20 to 30 minutes straight until the wrap stops smoking and hardens completely.
Both solutions should be viewed as temporary to semi-permanent fixes meant to extend the life of the exhaust system until a proper replacement is viable. Tape generally offers higher tensile strength, allowing it to resist vibration and chassis flex better than brittle cured paste. However, paste creates a superior airtight seal on microscopic gaps where tape might allow minor gas weeping.
In a harsh winter climate with heavy road salt, both repairs will eventually fail as the surrounding metal continues to rust away from underneath the patch. The patch itself might survive, but the pipe it is attached to will disintegrate. Expect a well-applied patch to last anywhere from six months to a year under normal driving conditions.
DIY exhaust repairs offer a massive reduction in immediate out-of-pocket expenses compared to professional shop welding or total component replacement. A DIY repair stack, including abrasive brushes, sealants, and clamps, requires a very small investment. Contrast this with the heavy labor rates and parts markup at a muffler shop. While a welded repair is permanent, the chemical repair buys valuable time for vehicle owners managing strict maintenance budgets.
Feature | Exhaust Putty Application | Fiberglass Tape Application |
|---|---|---|
Best Leak Type | Pinholes, slip joints, flanges | Large holes, straight pipe cracks |
Application Method | Press and plug, smoothing | Tight 360-degree overlapping wrap |
Clearance Needed | Minimal (front facing only) | High (must wrap around pipe) |
Vibration Resistance | Moderate (can crack if thick) | High (acts as a structural cast) |
Curing Requirement | Slow, gradual idle heat | Sustained, immediate heat |
Relying on a single product often exposes its inherent structural weaknesses. By combining methods, you create a composite repair that leverages the strengths of all materials. The paste fills the internal void and blocks the direct gas paths. The tape provides a structural casing that holds the paste in place against internal pressure. Finally, mechanical clamps prevent the edges of the fiberglass tape from unraveling or shifting under vibration.
This hybrid method is the closest you can get to a permanent repair without firing up a MIG welder. It addresses the sealing problem with the putty and the structural problem with the tape. It is highly recommended for any hole larger than a dime on a straight section of pipe.
Aggressively wire-brush the damaged area down to bare metal. Remove all loose rust flakes. Clean the area thoroughly with a zero-residue degreaser, such as brake cleaner, and let it flash dry completely.
Press the repair putty deeply into the hole or crack to form an internal plug. Smooth a thin, even layer around the outer surface of the hole to create a bonding base.
While the putty is still wet, tightly wrap the exhaust tape over the repair area. Overlap each pass by at least 50% to create a high-tension, multi-layered wrap.
Install stainless steel hose clamps or heavy-duty U-bolt clamps on both ends of the wrapped tape. Tighten them down to mechanically lock the repair edges in place.
Start the engine and perform the manufacturer-recommended idle sequence. The heat will bake the internal putty and set the outer tape resin simultaneously, creating a unified patch.
Online forums frequently contain dangerous advice suggesting the use of standard duct tape or hardware store aluminum foil tape for exhaust leaks. This is a severe safety hazard. Standard adhesives and cloth backings will melt instantly, emit highly toxic fumes into the cabin, and potentially ignite under the extreme heat of the exhaust system. Only use products specifically engineered and rated for automotive exhaust temperatures.
Even HVAC foil tape, which is designed for home heating ducts, cannot withstand the 1,000°F+ temperatures found near a catalytic converter. The adhesive will turn to ash, and the foil will blow away within minutes of starting the engine. Never substitute household tapes for automotive-grade exhaust products.
It is vital to differentiate between a harmless tailpipe leak and a deadly manifold or catalytic converter leak. A leak at the rear muffler is mostly an annoying noise issue. A leak near the engine bay or directly under the passenger cabin allows deadly, odorless carbon monoxide gas to enter the vehicle. If you have a severe leak near the front of the vehicle, a DIY repair may be unsafe, and professional welding or replacement is mandatory to protect the occupants.
If you smell exhaust fumes inside the cabin while sitting at a stoplight, you have a severe leak forward of the rear axle. Do not rely on a chemical patch to fix a massive manifold crack that is dumping carbon monoxide into your ventilation system. Tow the vehicle to a shop.
Repairs located upstream of the catalytic converter (pre-cat) face significantly higher pressures and temperatures than repairs located near the muffler (post-cat). The catalytic converter creates a bottleneck, causing exhaust gases to back up and build pressure in the front pipes. DIY chemical patches applied pre-cat are highly prone to blowout failure due to this extreme environment. Focus DIY efforts primarily on post-cat sections for reliable results.
The temperature difference is also massive. A manifold can glow red hot under heavy load. No over-the-counter putty or tape will survive direct contact with a glowing cast iron manifold for long. Keep your chemical repairs limited to the mid-pipe, resonator, and muffler sections.
Neither product is universally better than the other; success depends entirely on the nature of the leak. Putties are superior for joints, seams, and pinholes, while fiberglass bandages are required for larger structural holes on straight pipes. By correctly diagnosing the damage and preparing the surface meticulously, you can achieve a durable seal that keeps your vehicle quiet and safe.
Inspect the exhaust pipe with a flashlight to identify the exact size and location of the leak.
Scrub the damaged area with a stiff wire brush until bare metal is visible.
Apply the hybrid method using both putty and fiberglass wrap for holes larger than a pinhole.
Secure the edges of your fiberglass wrap with stainless steel hose clamps before curing.
Reach out and contact us if you need specific product recommendations for your vehicle.
A: When applied correctly to bare metal and properly heat-cured, it can last anywhere from a few months to over a year. Its lifespan depends heavily on the amount of engine vibration, the location of the patch, and exposure to road salt and moisture.
A: It is highly difficult. Tape requires a tight, 360-degree wrap to create tension. Muffler seams are irregular and bulky, making it nearly impossible to get a tight wrap. Putty is a much better choice for irregular seams.
A: No. Most automotive exhaust putties require thermal cycling to fully cure. They rely on the heat of the exhaust gases to bake out the moisture and cross-link the chemical binders into a rigid, heat-proof seal.
A: It depends on the state and the inspector. Many jurisdictions will fail a vehicle if they see a temporary chemical patch, requiring a permanent welded repair or replacement to pass strict emissions and safety standards.
A: No. Driving under normal loads before the cure is complete will spike the internal exhaust pressure. This pressure will easily blow the wet, uncured material right out of the hole, ruining the repair.
A: Use a stiff wire brush or sandpaper to aggressively scrub the area until you see bare, shiny metal. Wipe the area down with a fast-drying solvent like brake cleaner to remove all grease and dust before applying the putty.


