


Views: 0 Author: Site Editor Publish Time: 2026-08-11 Origin: Site


Unresolved exhaust leaks compromise vehicle performance, introduce hazardous carbon monoxide into the passenger cabin, and guarantee emissions test failures. Pinpointing the exact location of an exhaust leak is notoriously difficult due to complex pipe routing, ambient engine noise, and the extreme heat generated during operation, which makes live-engine tactile inspections dangerous. This guide breaks down evidence-based diagnostic methods—ranging from safe, cold-engine DIY tests to professional fleet analytics—and establishes a technical framework for determining when a leak can be permanently repaired using an exhaust pipe sealant versus requiring component replacement.
Safety dictates methodology: The most accurate and safe diagnostic approach utilizes a reversed shop vacuum on a cold exhaust system combined with a soapy water solution, eliminating burn risks.
Symptom mapping isolates the zone: Ticking noises near the engine bay typically indicate manifold issues, while cabin smells or sputtering often point to mid-pipe or catalytic converter joint failures.
Repair viability depends on structural integrity: High-temperature exhaust pipe sealant is highly effective for slip joints, pinholes, and minor flange gaps, but is not a viable structural fix for heavy corrosion, sheared mounts, or large flex-pipe blowouts.
Verification is mandatory: Post-repair testing is required to ensure emissions compliance and verify that backpressure has been fully restored.
Mechanics rely heavily on sound to isolate exhaust issues before ever putting a vehicle on a lift. You need to identify sharp, rhythmic ticking or tapping noises radiating from the engine bay. These high-frequency sounds almost always indicate cracked exhaust manifolds or failed manifold-to-block gaskets. The ticking will typically speed up in direct proportion to engine RPMs and is usually loudest during a cold start before the metal components heat up and expand to temporarily close the gap.
Move further back along the vehicle and listen for low-frequency sputtering, hissing, or popping during hard acceleration. These deeper sounds point directly to mid-pipe breaches, failed catalytic converter welds, or muffler seam blowouts. A hissing sound specifically indicates a high-pressure leak forcing gas through a very small pinhole, whereas a loud, tractor-like rumble means a pipe has completely sheared or a flange has separated.
Sound Profile | Likely Location | Severity & Action |
|---|---|---|
Sharp, rhythmic ticking | Exhaust manifold or header gasket | High heat zone. Requires gasket replacement or welding. |
High-pitched hissing | Mid-pipe pinhole or slip joint | Moderate. Often repairable with sealant and clamps. |
Low-frequency sputtering | Catalytic converter flange or flex pipe | High. Flex pipes require replacement; flanges may be sealed. |
Loud, tractor-like rumble | Muffler blowout or severed pipe | Severe. Requires immediate component replacement. |
Address the common user pain point of smelling raw exhaust fumes inside the cabin sporadically. This usually happens only at idle at a stoplight or when the HVAC system is set to pull fresh intake air from the cowl area. When the vehicle is moving at highway speeds, ambient airflow sweeps the leaking gases away under the chassis. If you smell exhaust while driving at 60 mph, you have a massive leak directly under the floorboards.
Correlate sudden drops in fuel economy or sluggish acceleration with a potential loss of exhaust backpressure. Modern engines rely on a specific amount of scavenging effect to pull exhaust gases out of the combustion chamber. When a leak disrupts this flow, engine efficiency plummets. Monitor your dashboard for Check Engine Light (CEL) triggers. Specifically, look for oxygen sensor (O2) codes like P0171 (System Too Lean) or P0420 (Catalyst System Efficiency Below Threshold). These codes trigger because the leak allows unmetered ambient oxygen to get sucked into the exhaust stream between exhaust pulses, tricking the O2 sensors into thinking the engine is running lean.
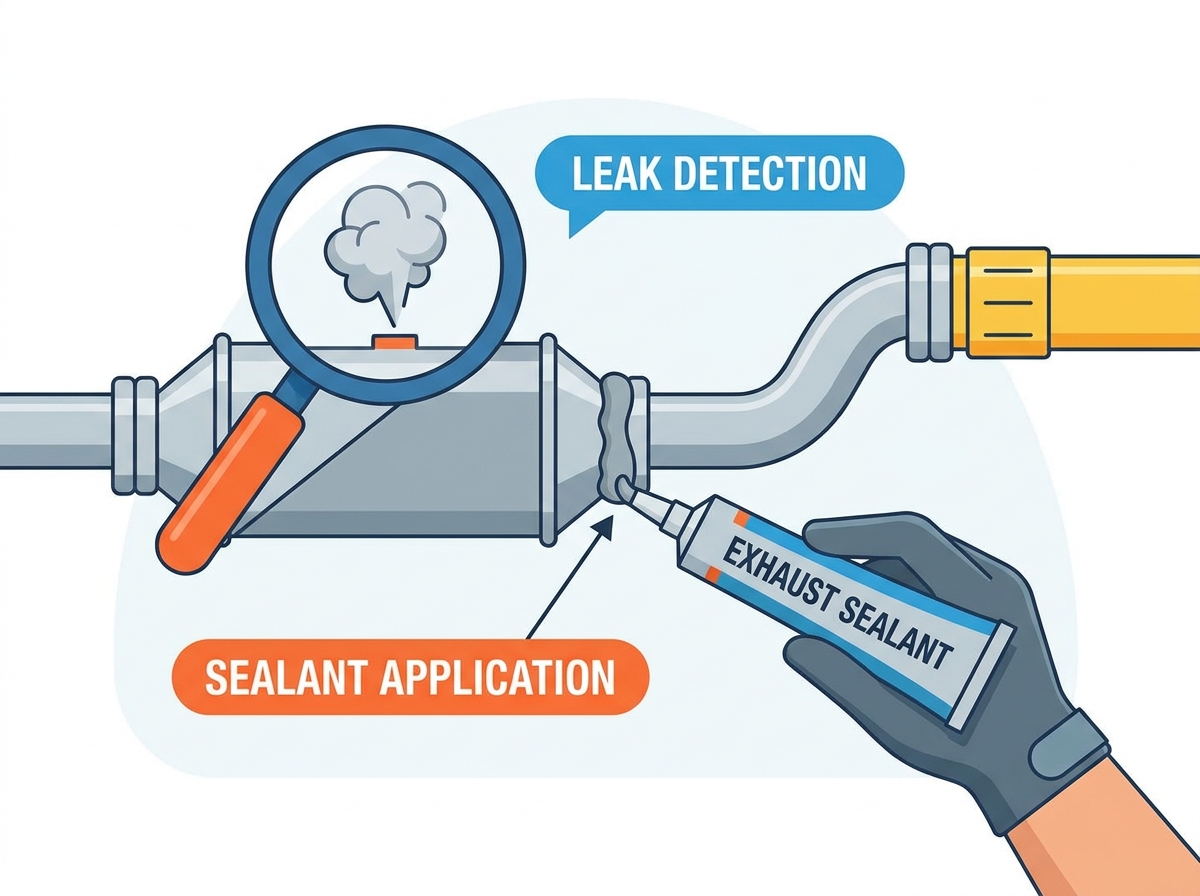
Do not crawl under a vehicle without the right equipment. You need a specific set of tools to accurately diagnose exhaust routing without putting yourself at risk. Gather the following gear before starting your inspection:
A heavy-duty, high-lumen LED flashlight to illuminate dark undercarriage cavities.
A mechanic’s stethoscope with a metal probe to isolate ticking sounds near the manifold.
A standard wet/dry shop vacuum with a reversible hose to utilize the blower function.
A heavy-duty spray bottle filled with a highly concentrated soapy water solution (dish soap works best for creating thick bubbles).
ANSI-rated safety glasses to protect your eyes from falling rust scale and debris.
A wire brush and heavy-grit sandpaper for surface testing and preparation.
Follow strict safety protocols for lifting the vehicle. Never rely solely on a hydraulic floor jack to hold the weight of a car or truck while you are underneath it. Hydraulic seals fail without warning.
Park the vehicle on a flat, level concrete surface. Do not attempt this on asphalt or gravel.
Engage the parking brake fully and place wheel chocks behind the rear tires.
Lift the front of the vehicle using a heavy-duty hydraulic jack positioned at the manufacturer's designated subframe lift points.
Lower the vehicle onto a pair of ANSI-rated steel jack stands. Verify the stands are locked and stable by giving the vehicle a firm shake.
Allow the exhaust system to cool completely. Catalytic converters can reach internal temperatures exceeding 1,200°F (650°C). Wait at least two hours after the engine has been shut off before beginning tactile or close-proximity visual inspections to prevent severe third-degree burns.
Trace the entire exhaust path systematically from the engine block to the rear bumper. Start at the exhaust manifold flanges and work your way down to the catalytic converter weld beads, O2 sensor ports, resonator, muffler seams, and tailpipe bends. You are looking for telltale visual markers that indicate escaping gas.
Look for black soot trails radiating outward from slip joints or flanges. Exhaust gas carries unburned carbon, which deposits on the surrounding metal when it escapes through a breach. Check for localized heavy rust spots that look significantly worse than the surrounding pipe; condensation often pools at the site of a pinhole leak, accelerating corrosion in that specific spot. Inspect all rubber exhaust hangers and metal mounts. Broken or stretched rubber isolators cause the exhaust system to sag and vibrate excessively. This uncontrolled movement is a primary root cause of metal fatigue and pipe fractures.
This is the industry standard for safe, highly accurate leak detection. Tape the hose of a shop vacuum into the cold tailpipe. You must set the vacuum to "blow" rather than "suck" to pressurize the exhaust system. Use duct tape to seal the gap between the vacuum hose and the inside of the tailpipe, ensuring all the air is forced into the exhaust tract.
Turn the vacuum on. The system is now pressurized with cold air. Take your spray bottle and generously spray the soapy water solution over all flanges, slip joints, welds, and suspected rust spots. Start at the front of the vehicle and work your way back. Look for active bubbling where air is escaping. A large leak will blow the soapy water away immediately, while a microscopic pinhole will create a slow, growing cluster of foam. This method provides pinpoint accuracy without burn risks, and because the engine is off, there is no mechanical noise interference to distract you.
If you do not have a shop vacuum, you can use the live-engine rag test. Safely block the tailpipe with a thick, damp rag while the engine is idling. Have an assistant hold the rag firmly against the exhaust tip to temporarily increase exhaust backpressure. Do not use your bare hands.
This increased internal pressure forces escaping gases through any existing leaks at a much higher velocity, making hissing or sputtering sounds significantly louder and easier to locate. Crawl alongside the vehicle (do not go underneath a running vehicle unless it is on a professional 4-post lift) and listen for the amplified noise. Warn your assistant against prolonged blocking. Release the rag every 15 seconds to prevent engine stalling, excessive heat buildup, or blowing out weakened gaskets.
Advanced methods used in commercial settings and high-end diagnostic shops rely on specialized equipment to find microscopic leaks that trigger emissions failures. Technicians inject vaporized mineral oil via commercial smoke machines directly into the exhaust tract. The thick, white smoke easily travels through the pipes and billows out of any cracks, making visual identification instantaneous even in hard-to-reach areas above the subframe.
Professionals also use handheld 5-gas analyzers. By sweeping the probe of the analyzer around strategic connection points, slip joints, and V-band clamps, the machine detects invisible hydrocarbon and carbon monoxide leaks. This ensures strict compliance for fleet operations and guarantees that the repair will pass state emissions testing.
Once you find the leak, you must define the threshold between surface rust and structural rot. Take a flathead screwdriver and firmly scrape the area around the leak. If you only remove a thin layer of brown oxidation and expose solid steel underneath, the pipe is structurally sound. If the metal flakes away in thick chunks, crumbles under light pressure, or the screwdriver punches straight through the pipe wall, the structural integrity is gone. Rotted sections cannot be patched; they must be cut out with a reciprocating saw and replaced with new pipe.
Differentiate your repair approaches based on the location and operating temperature of the failed component. Manifold leaks involve extreme high heat and constant expansion/contraction cycles. These usually require OEM gasket replacement or professional TIG welding. Mid-pipe and catalytic converter joints experience moderate heat and are highly suitable for chemical sealants paired with mechanical clamps. Mufflers and tailpipes operate under low heat but are highly prone to internal condensation rot. If a muffler seam splits due to internal rust, replacement is the only viable long-term option.
Chemical sealants are engineered for specific applications. Specify appropriate use cases for sealing new slip joints during the installation of aftermarket exhaust systems. When sliding a new muffler onto a mid-pipe, applying a layer of sealant ensures a perfectly gas-tight fit even if the pipe tolerances are slightly off. It is also ideal for repairing minor pinhole leaks caused by localized pitting, and for filling small gaps in warped two-bolt flanges where a standard gasket is failing to seal completely. High-temperature, sodium-silicate-based exhaust pipe sealant cures rapidly with exhaust heat to form a gas-tight, rock-hard rigid bond that withstands temperatures up to 2000°F.
Sealant will fail immediately if applied to large structural cracks or load-bearing joints without mechanical clamping. It is not a structural adhesive. Furthermore, never apply sealant to flexible components like braided stainless steel flex pipes. Flex pipes are designed to move, twist, and absorb engine torque vibrations. A rigid silicate sealant will shatter and flake off the moment the engine shifts on its mounts. Clarify that sealant is not a substitute for mechanical strength; it must always be used in conjunction with heavy-duty U-bolts, stainless steel band clamps, or solid pipe overlaps.
Proper application dictates the longevity of the repair. Follow these exact steps to ensure the compound bonds correctly to the exhaust tubing.
Surface Preparation: Take a stiff wire brush and aggressively scrub the repair area down to bare metal to remove all loose oxidation, dirt, and old gasket material. Follow up by sanding the area with 80-grit sandpaper to create a rough surface profile for the compound to grip. Degrease the metal with a residue-free solvent like brake parts cleaner and let it flash dry.
Wet Application Technique: Dampen the bare metal repair area slightly with a wet rag (if required by the specific product instructions, as moisture helps silicate compounds adhere). Apply a continuous, generous bead of sealant around the slip joint or directly over the pinhole. Use a putty knife to press the compound firmly into the gap, ensuring there are no air pockets.
Assembly and Clamping: If assembling a slip joint, slide the pipes together while the sealant is still wet. Immediately install and torque your U-bolt or band clamp to the required specifications to lock the joint in place.
Curing Cycle: Allow the compound to static cure at room temperature for at least 30 to 60 minutes. Once the initial set is complete, start the engine and let it idle for 10 to 15 minutes. The low-temperature heat from idling will bake the moisture out of the compound and fully set the silicate into a ceramic-like bond without causing it to boil or bubble.
Mechanics frequently see DIY exhaust repairs fail within weeks. Common failure points include inadequate surface preparation where the user applied the compound directly over loose dirt and grease. Applying sealant over active, flaking rust guarantees failure because the rust will simply peel away from the base metal, taking the sealant with it. Another major oversight is failing to replace the broken rubber exhaust mounts that caused the initial stress fracture. If the exhaust system is still sagging and vibrating violently, the new repair will crack under the exact same stress loads.
Never assume a repair is successful just because it looks clean. Require a secondary shop vac and soapy water test post-cure to verify the seal. Pressurize the system again and spray the repaired joint. If you see zero bubbles, the repair is gas-tight. Hook up an OBD-II scanner and confirm the clearance of any exhaust-related error codes, specifically monitoring the live data for the downstream O2 sensors to ensure they are reading a steady voltage. Finally, start the vehicle and verify the restoration of normal engine idle, throttle response, and clean cabin air quality.
Perform a cold-engine pressurized diagnostic using a shop vacuum and soapy water to safely isolate the exact location of the leak.
Assess the structural integrity of the metal with a screwdriver to determine if the pipe can hold a repair or requires complete replacement.
Procure the correct mechanical clamps and high-temperature exhaust pipe sealant for minor joint leaks and pinholes.
Prep the surface down to bare metal, apply the compound, and follow the heat-cycling cure process to ensure a permanent bond.
Verify the repair with a secondary pressure test and clear all OBD-II codes. Reach out and contact us if you need further guidance on selecting the right diagnostic tools or sealing compounds for your specific vehicle application.
A: Driving with an exhaust leak is not recommended. It can introduce dangerous carbon monoxide into the cabin, reduce engine performance, and cause your vehicle to fail emissions tests.
A: When applied correctly to a properly prepared surface on a non-structural joint, high-temperature sealant can provide a long-lasting, permanent seal. However, it will fail quickly if used on structural cracks or flex pipes.
A: Yes, an exhaust leak, especially one located before or near the oxygen sensors, can introduce unmetered air into the system, triggering a check engine light.
A: Listen for a sharp ticking noise from the engine bay when cold. You can also use the shop vac and soapy water method on a cold engine to pinpoint bubbles around the manifold flanges.
A: Yes, applying soapy water to the exterior of a cold exhaust system, including the catalytic converter and oxygen sensors, is safe and will not cause damage.
A: No. Flex pipes are designed to move and absorb engine vibrations. Rigid sealants will crack and fail immediately under these conditions. A damaged flex pipe must be replaced.
A: Intermittent exhaust smells often occur when idling or when the HVAC system pulls fresh air from the cowl area near a small engine bay leak. Driving at speed usually dissipates the fumes before they enter the cabin.


